2009 Lexus Is250 Owner's Manual
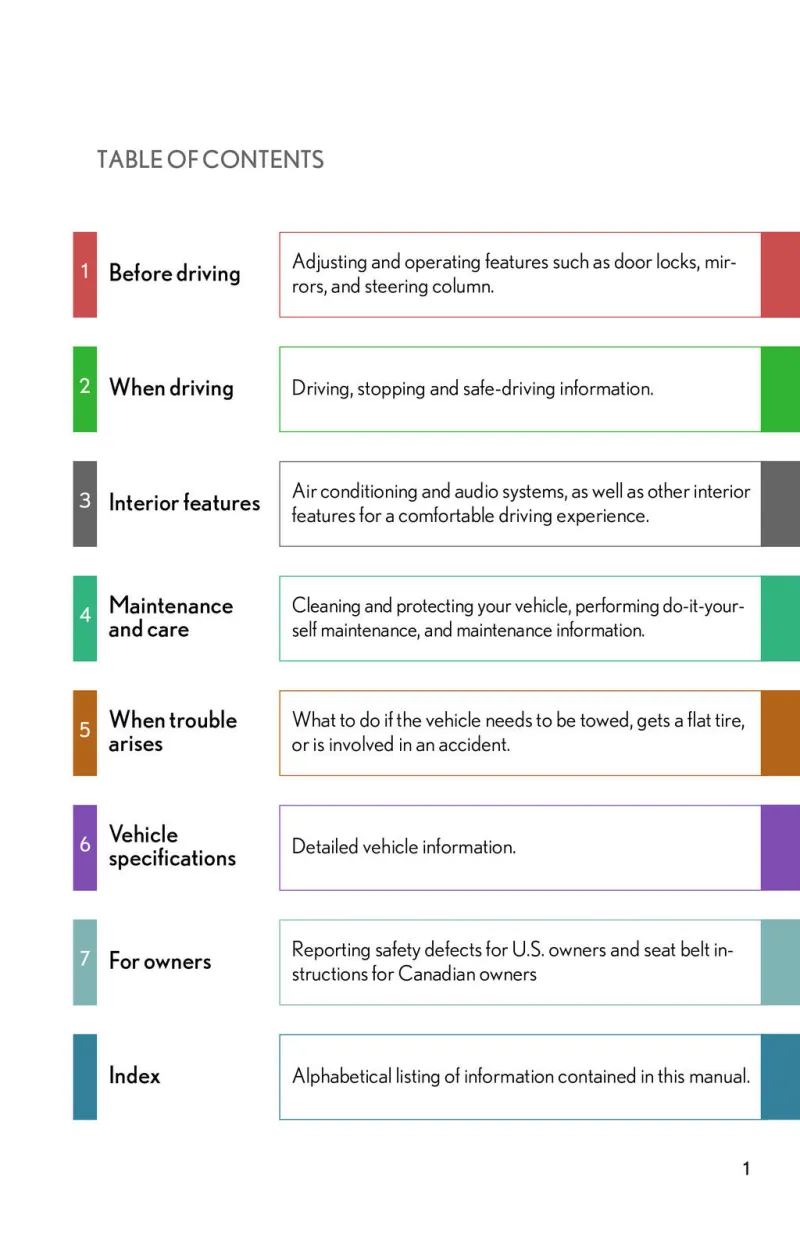
Table of Contents
2009 Lexus Is250 Overview
Introduction
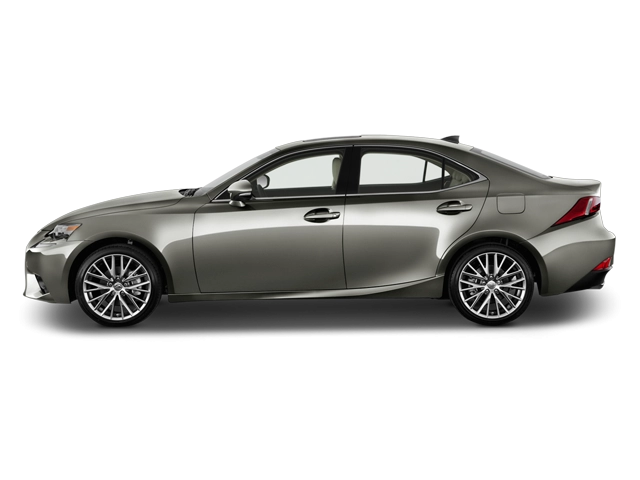
The 2009 Lexus IS250 stands as a quintessential entry in the luxury compact sedan segment, offering a harmonious blend of style, performance, and cutting-edge technology. With its sleek design and refined interior, the IS250 attracts both driving enthusiasts and those seeking comfort in their daily commute. Lexus has crafted a vehicle that not only appeals to the senses but also provides a reliable and safe driving experience.
Powertrains
Under the hood, the 2009 IS250 is equipped with a robust 2.5-liter V6 engine, generating 204 horsepower and 185 lb-ft of torque. Power is transmitted through either a six-speed manual or a six-speed automatic transmission, offering versatility and a dynamic driving experience. The available all-wheel-drive system enhances stability and traction, making it an excellent choice for varying weather conditions while still delivering smooth and responsive handling.
Trims
The 2009 IS250 comes in several well-appointed trims, including the base model, Premium, and F Sport packages. Each trim level adds a variety of features and technologies, allowing buyers to customize their vehicle. Standard features across the trims include 17-inch alloy wheels, dual-zone automatic climate control, and leather upholstery, ensuring a comfortable and luxurious environment for all passengers.
Features
Luxury and technology take center stage in the IS250 with a host of features, including a premium sound system, navigation, Bluetooth connectivity, and a rearview camera in higher trims. Safety is paramount, with standard equipment such as multiple airbags, antilock brakes, and electronic stability control, ensuring peace of mind for drivers and passengers alike.
Owner's Manual
The 2009 Lexus IS250 comes with a comprehensive owner's manual that provides essential information about the vehicle's features, maintenance schedules, and troubleshooting tips. This guide is designed to help owners maximize their experience and ensure the longevity of their investment, reflecting Lexus's commitment to customer satisfaction and support.
User manual download
The Lexus Is250 owner manual for the 2009 model year is to be found in PDF downloadable format on this page. The owner manual for the model year 2009 is free and in English, but the repair manuals are usually not easy to get and may cost more.

Manual Questions
Fill the form below and someone will help you!