2007 Lexus Is250 Owner's Manual
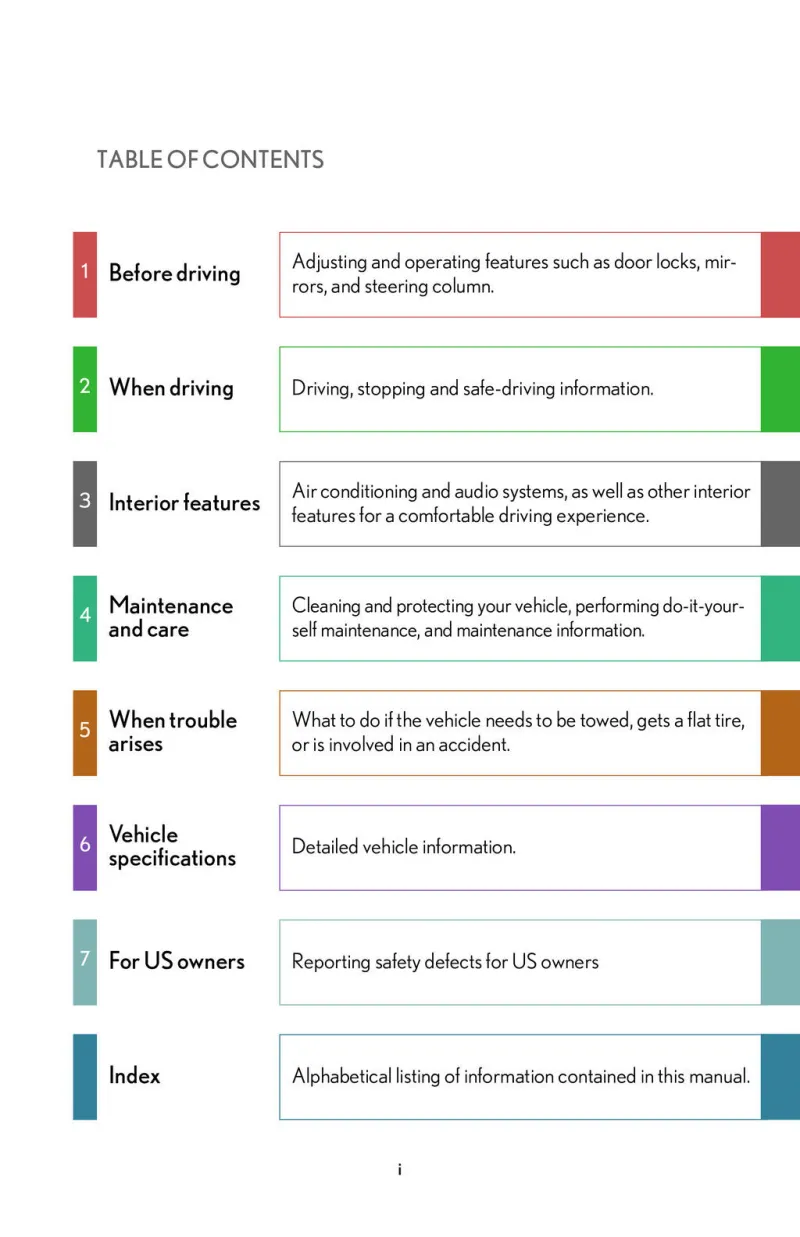
Table of Contents
2007 Lexus Is250 Overview
Introduction
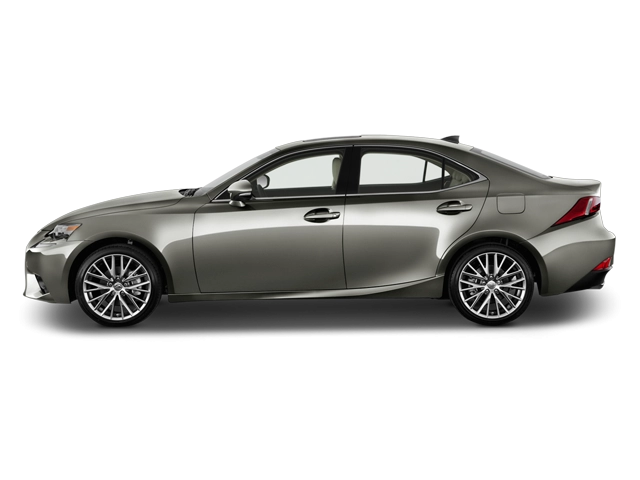
The 2007 Lexus IS250 is a luxurious compact sedan that seamlessly blends sportiness with refined elegance. Designed to impress both the driver and passengers, this model stands out with its sharp styling, upscale interior, and comprehensive features. Part of the first generation of the Lexus IS lineup, the IS250 was aimed at those seeking performance and luxury in a compact package, making it a desirable choice for enthusiasts and everyday drivers alike.
Powertrains
Under the hood, the 2007 IS250 is powered by a robust 2.5-liter V6 engine that produces an impressive 204 horsepower and 185 lb-ft of torque. This engine is paired with a six-speed automatic transmission that provides smooth and responsive shifts. Enthusiasts will appreciate the available all-wheel-drive system, which enhances traction and stability in various driving conditions, making it a versatile choice for different climates.
Trims
The 2007 Lexus IS250 comes in several trims, allowing buyers to select a model that best meets their lifestyle. The base model is well-equipped with standard features like leatherette seating, dual-zone automatic climate control, and an impressive sound system. Higher trims add luxury elements such as genuine leather upholstery, navigation systems, premium audio with a surround sound feature, and more advanced safety technologies, catering to those who desire additional comfort and functionality.
Features
Passengers of the IS250 will find an array of high-end features designed to enhance their driving experience. Standard amenities include power-adjustable front seats, a sunroof, Bluetooth connectivity, and a multi-function display. The combination of a quiet cabin, high-quality materials, and a blend of contemporary technology makes the IS250 a sophisticated choice for modern drivers.
Owner's Manual
The owner's manual for the 2007 Lexus IS250 serves as an invaluable guide that details essential information about vehicle operation, maintenance schedules, troubleshooting tips, and safety features. It empowers owners to gain a deeper understanding of their vehicle, ensuring they can maximize its performance and longevity while minimizing potential issues.
User manual download
The Lexus Is250 owner manual for the 2007 model year is to be found in PDF downloadable format on this page. The owner manual for the model year 2007 is free and in English, but the repair manuals are usually not easy to get and may cost more.

Manual Questions
Fill the form below and someone will help you!