2011 Toyota Yaris Sedan Owner's Manual
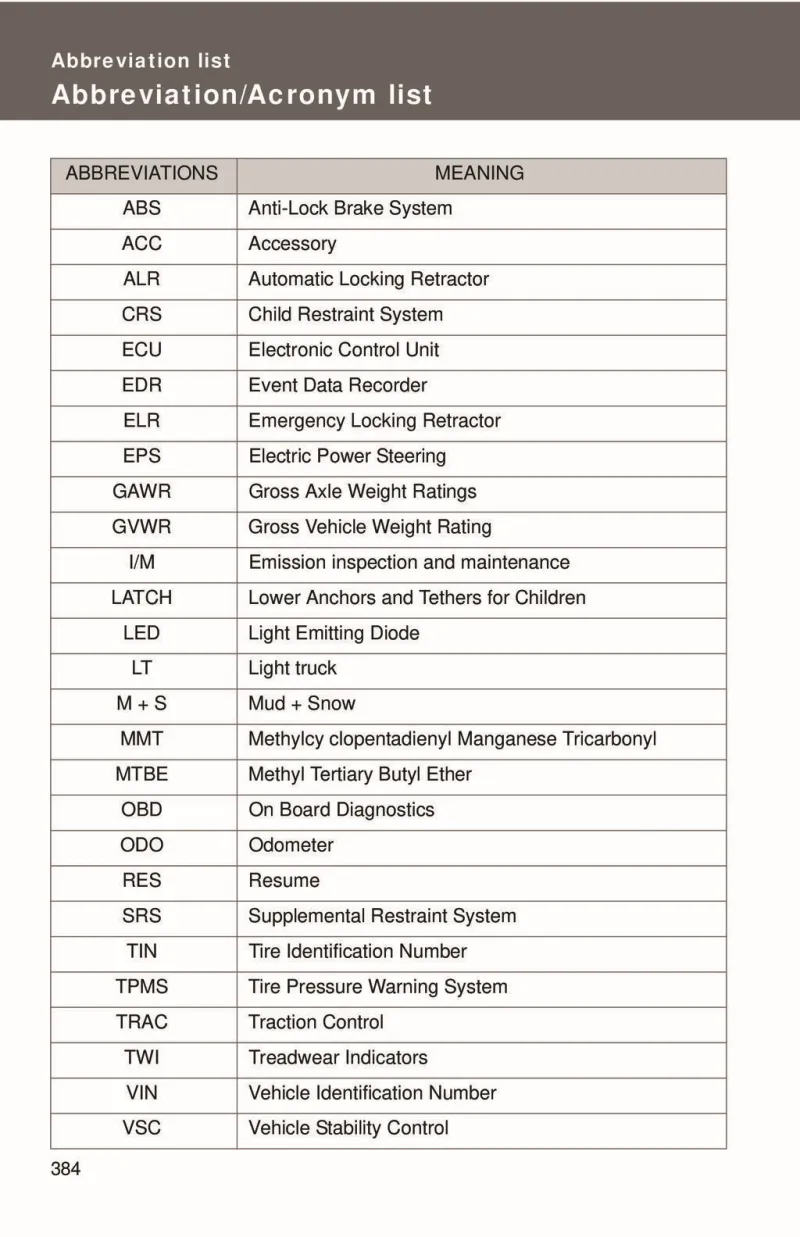
Table of Contents
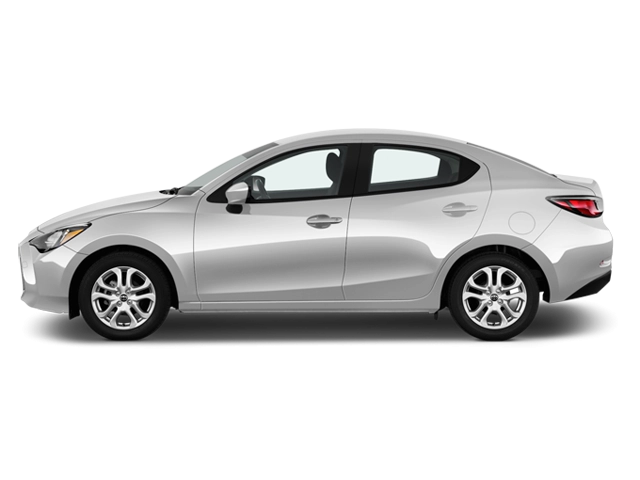
2011 Toyota Yaris Sedan Overview
Introduction
The 2011 Toyota Yaris Sedan is a compact car designed for practicality and efficiency, making it an excellent choice for urban commuting and first-time car buyers. With its reliable build and distinctive styling, the Yaris offers excellent fuel economy and a comfortable driving experience, embodying Toyota's commitment to quality and affordability.
Powertrains
The 2011 Yaris Sedan is powered by a 1.5-liter four-cylinder engine that produces 106 horsepower and 103 lb-ft of torque. This powertrain pairs efficiently with either a standard five-speed manual or an optional four-speed automatic transmission, ensuring a smooth ride while achieving impressive fuel efficiency. The Yaris delivers an EPA rating of approximately 29 mpg in the city and 36 mpg on the highway, making it an economical choice for daily driving.
Trims
The 2011 Toyota Yaris Sedan is available in three main trims: the base Yaris, the Yaris S, and the well-equipped Yaris SE. The base model comes with essential features like air conditioning, a four-speaker audio system, and full-powered accessories. The Yaris S adds sporty design elements and upgrades like a rear spoiler. The Yaris SE elevates the experience with enhanced interior materials and a premium audio system, providing a more refined driving atmosphere.
Features
Standard features across all trims include front airbags, side curtain airbags, and a tire pressure monitoring system for added safety. Additionally, the Yaris boasts convenient features such as remote keyless entry, a 60/40 split-folding rear seat for expanded cargo space, and optional Bluetooth connectivity for hands-free calling. The ergonomic design ensures comfort for both the driver and passengers, making it a versatile choice for various lifestyles.
Owners Manual
The 2011 Toyota Yaris Sedan owners manual serves as an essential resource for new owners. It provides comprehensive information on vehicle operation, maintenance schedules, troubleshooting tips, and safety features, ensuring that drivers can make the most of their Yaris experience while keeping their vehicle in top condition.
User manual download
The Toyota Yaris Sedan owner manual for the 2011 model year is to be found in PDF downloadable format on this page. The owner manual for the model year 2011 is free and in English, but the repair manuals are usually not easy to get and may cost more.

Manual Questions
Fill the form below and someone will help you!